


Follow along with Denise Lush as she guides you through this fun technique to create a dual-colored background! Using the latest Dylusions Stencils and Flip Cap Paint, you can achieve a dynamic effect in your Dylusions Creative Journal.

Dylusions Dual Colored Stencil Technique by Denise Lush
- Materials
- Instructions
Dylusions Large Ledger Journal
Dylusions Stencil Large Urchins
Dylusions Stencil Small Crazy Paving
Dylusions Stampers Anonymous Cling Mount Stamp Get Your Rocks On
Dylusions Bigger Back Chat - White 2
Dylusions Flip Cap Paint Vibrant Turquoise
Dylusions Flip Cap Paint Jungle Leaf
Dylusions Flip Cap Paint Black Marble
Dylusions Mini Archival Ink Kit #1 (Dirty Martini)
Dylusions Mini Archival Ink Kit #3 (Vibrant Turquoise)
Dylusions Washi Tape Black
Dylusions Paint Pens Black & White, 2pc
Dylusions Journaling Tags #10 Mixed Media, 10pc
Other:
Washi tape or painters tape
Instructions

Step 1: Turn to a dot grid page in your large Ledger Journal. Count three dots in and add washi tape. Do this all around the parameter of the page to create a border.

Step 2: Lay the large stencil Urchins down on your page. Count 5 dots in from the edge of the washi tape and mark it. Mark every 5 dots. We are going to paint stripes on the page alternating colors. Label each strip ‘x’ and ‘o’ so you know which to mask off with washi tape. Start off masking all the ‘o’s’.

Step 3: When all the strips marked ‘o’ have been masked off, apply Jungle Leaf paint in the exposed strips. Make sure to erase any pencil lines where you will be painting.

Step 4: When the Jungle Leaf paint has dried remove the strips of washi from the ‘o’s’ and apply it over the ‘x’s’ (the strips you just painted jungle leaf).

Step 5: Now it’s time to paint these strips (the ‘x’s’) in Vibrant Turquoise.

Step 6: When all the paint has dried remove the washi tape and admire your work.

Step 7: Place the stencil back in place and add the washi tape around the border area. This holds your stencil in place while you work and masks off your border. Using some images from the stamp set Get Your Rocks On stamp randomly on your page with Dylusions Archival Ink in Dirty Martini and Vibrant Turquoise.

Step 8: Remove the stencil and all washi tape. Trace around your stencils images with the black marble paint pen. Then frame your stenciled area with black Dylusions washi tape.

Step 9: On a #10 Dylusions Mixed Media tag apply black marble paint through the small stencil Crazy Pavings.

Step 10: Attach the tag by folding it over your page and taping it on the back of the page. Trace the black stenciled images with the white linen paint pen.

Step 11: Find these collage images from the Dylusions Collage Sheets Set 4 and adhere them to your tag allowing the legs to hang off the side. Next add a quote. The one used here is from the Bigger Back Chat White Set 2. It reads “Picture it…me giving a frikk”.
 My name is Denise Lush, and I live in Ontario, Canada. I love to create and want to try ALL the things!!! I love to work with bright colors, but I also love grungy layers! As long as my hands are getting inky and painty, I'm a happy girl. I also love sharing what I love to do and inspire others to play and have fun. You can find process videos on my YouTube channel and photos of what I create on Instagram. For more information, go to my website.
 Related Posts


Find Inspiration in Dina Wakley Media Art Cards by Laura Dame
Explore the latest tutorial featuring Laura Dame's stunning journal spread! Using the new vibrant and inspiring Dina Wakley...
Read More
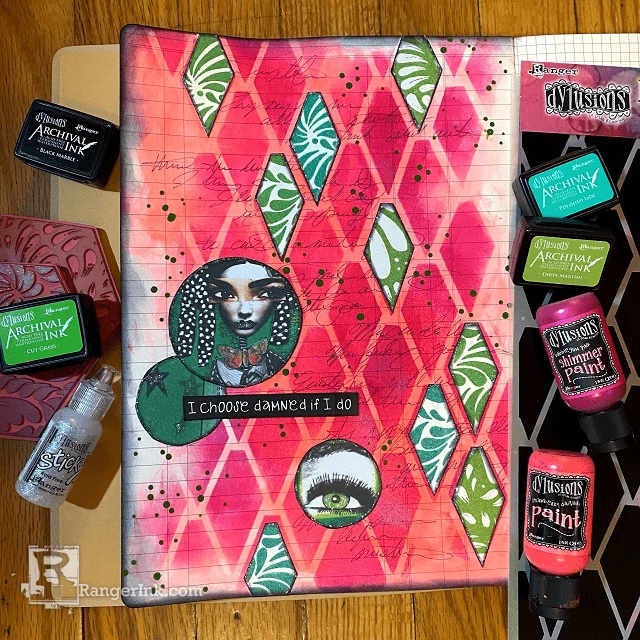
Dylusions Archival Ink Damned If I Do Journal Page by Jess Peters
Explore the latest Dylusions products in this journal page tutorial with Jess Peters! Crafted in the new Large Ledger...
Read More